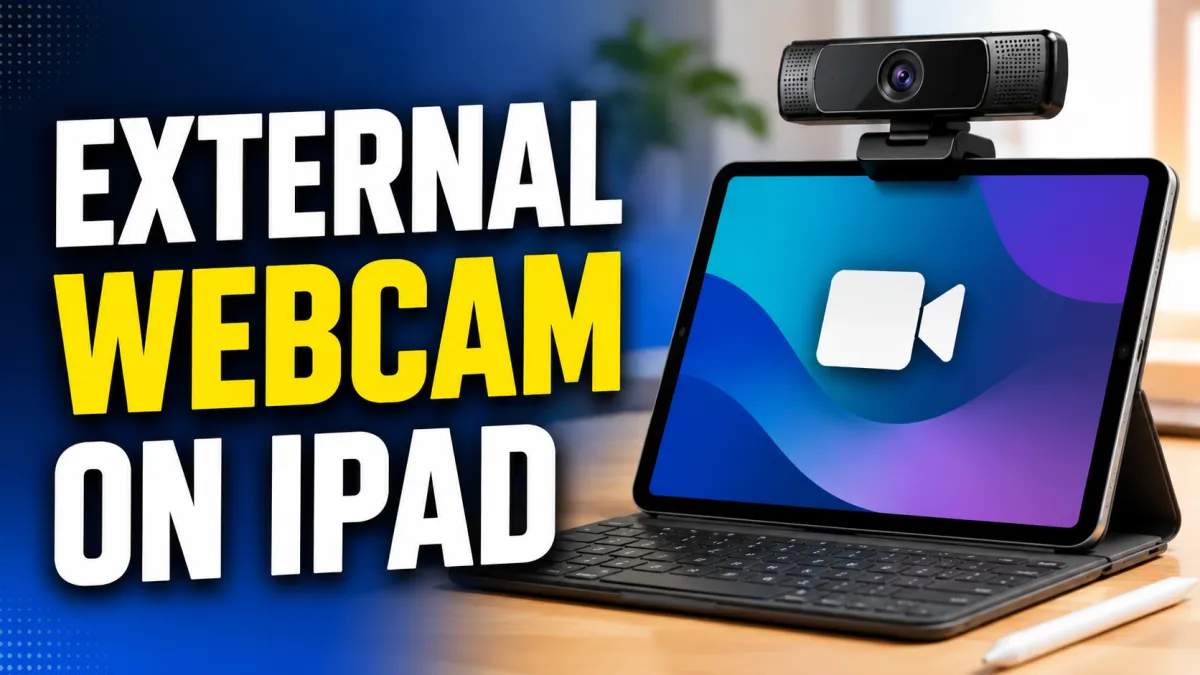
The built-in camera on an iPad is useful for everyday video calls, online classes, and meetings. However, there may be times when you want more flexibility or a different camera position. An external webcam can help improve your setup by allowing you to place the camera where it works best for your workspace.
Whether you use your iPad for video conferencing, teaching, live sessions, or recording content, connecting a compatible external camera can make your setup more convenient.
In this guide, you’ll learn how to connect and use an external webcam with an iPad, what accessories you may need, and what to do if the camera is not detected.
Also read: Computer Launcher for Android: Turn Your Phone Into a Desktop-Style Workspace
Quick Guide
Here is a simple overview of the process:
- Check whether your iPad supports external cameras.
- Make sure your iPad is running a compatible version of iPadOS.
- Connect the webcam using the appropriate USB-C adapter or hub.
- Open an app that supports external camera input.
- Check the app’s camera settings if the webcam is not selected automatically.
- Test the video before starting an important call or recording.
Depending on your webcam and iPad model, the setup may take only a few minutes.
Check Whether Your iPad Supports an External Webcam
Before purchasing an adapter or connecting a webcam, it is important to check your iPad model and software version.
External camera support is available on compatible iPads running newer versions of iPadOS. Modern iPads with USB-C connections generally provide the easiest setup for compatible USB webcams.
To check your software version:
- Open the Settings app.
- Tap General.
- Select About.
- Look for the iPadOS version.
You can also go to:
Settings > General > Software Update
Installing the latest compatible version of iPadOS can help improve support for accessories and fix known connection problems.
What You Need to Connect a Webcam
The accessories you need depend mainly on the type of connector on your iPad and webcam.
For USB-C iPads
If your iPad has a USB-C port, you may need:
- A compatible USB webcam
- A USB-C hub with a USB port
- Or a suitable USB-C adapter
Some webcams can connect more directly, while others require an adapter or hub.
When Extra Power Is Required
Certain webcams consume more power than an iPad can comfortably provide through a direct connection.
In this situation, a powered USB hub may help provide a more stable connection.
A powered hub can be especially useful when you are connecting multiple accessories at the same time, such as:
- An external webcam
- A microphone
- A keyboard
- External storage
If the webcam repeatedly disconnects or does not power on, checking the power setup is a good first step.
How to Connect an External Webcam to Your iPad
Once you have the necessary accessories, you can begin connecting the camera.
Step 1: Connect the Webcam
Plug the webcam into your USB-C hub or compatible adapter.
Then connect the hub or adapter to your iPad.
If the webcam has a power indicator, you may see a light appear. However, some cameras do not become active until an app begins using them.
Give the iPad a few seconds to recognize the connected device.
Step 2: Open a Compatible App
After connecting the camera, open an app that can work with external video input.
Depending on software support, you may use the webcam with apps designed for:
- Video calls
- Online meetings
- Remote learning
- Live streaming
- Video recording
The available camera options can vary between apps.
Some applications may automatically detect and use the connected external camera, while others may require you to change the camera manually.
Step 3: Check the Camera Settings
If your app continues showing video from the iPad’s built-in camera, look through the app’s settings.
Search for options such as:
- Camera
- Video
- Video source
- Connected camera
If the app provides a list of available cameras, select the external webcam.
After switching, check the preview window to confirm that the correct camera is active.
Adjust the Webcam Position
One major advantage of using an external webcam is the ability to place it independently from the iPad.
Instead of holding or moving your entire iPad, you can position the camera where it gives you the best angle.
For most video calls, placing the webcam near eye level creates a more natural appearance.
Try to avoid positioning the camera too low because this can create an unflattering upward angle.
A simple setup might include:
- The webcam positioned near the top of your display area
- The iPad placed on a stand
- Good lighting in front of you
- A clean and uncluttered background
Small adjustments can make a noticeable difference in how your video looks.
Test the Video Before a Meeting
Before joining an important meeting, online class, or live session, take a moment to test the setup.
Check the following:
Video Quality
Look at the camera preview and make sure the image appears clear.
If the video looks blurry, clean the webcam lens and check that the camera is focused correctly.
Camera Angle
Make sure your face is properly visible and centered in the frame.
If multiple people will appear on camera, consider using a wider-angle webcam.
Lighting
Good lighting can often improve video quality more than simply using a higher-resolution camera.
Try to place a light source in front of you rather than directly behind you.
Strong backlighting can make your face appear dark.
Audio
Some webcams include built-in microphones.
However, the audio source used by an app may be different from the video source.
Check your meeting or recording app to confirm which microphone is currently selected.
If possible, perform a short test recording before an important event.
What to Do If Your iPad Does Not Detect the Webcam
Sometimes an external camera may not work immediately after connecting it.
This does not always mean that the webcam is damaged.
Several common issues can prevent the iPad from recognizing an external camera.
Try Using a Powered USB Hub
Power-related problems are one of the most common reasons accessories fail to work properly.
If your webcam is connected but does not turn on or repeatedly disconnects, try connecting it through a powered USB hub.
The additional power may help the webcam operate more reliably.
This is particularly useful for larger webcams or setups with several USB accessories.
Disconnect and Reconnect Everything
A simple reconnection can sometimes solve the problem.
Try the following:
- Disconnect the webcam.
- Remove the hub or adapter from the iPad.
- Wait a few seconds.
- Reconnect the adapter or hub.
- Connect the webcam again.
- Open your video app and test the camera.
Make sure every cable is firmly connected.
A loose connection can prevent the iPad from detecting the accessory correctly.
Try Another Compatible App
Not every app handles external cameras in exactly the same way.
If your webcam is not working in one application, try another compatible video or recording app.
If the camera works elsewhere, the issue may be related to the original app’s settings or support for external video input.
Checking for app updates may also help.
Restart Your iPad
Restarting the iPad can clear temporary software issues that may affect connected accessories.
After restarting:
- Unlock the iPad.
- Connect the webcam again.
- Open the app you want to use.
- Check whether the camera is detected.
This simple step can resolve many temporary connection problems.
Check App Camera Permissions
Apps generally need permission to use cameras.
To review permissions:
- Open Settings.
- Go to Privacy & Security.
- Tap Camera.
- Check whether the app you are using has camera access enabled.
You can also review the app’s individual settings if necessary.
After changing permissions, close and reopen the application before testing again.
Keep iPadOS Updated
Software updates can improve compatibility, performance, and security.
To check for an update:
- Open Settings.
- Tap General.
- Select Software Update.
Install the latest version available for your iPad when appropriate.
After updating, reconnect the webcam and test it again.
Common Problems When Using an External Webcam
The Webcam Does Not Turn On
Possible causes include:
- Insufficient power
- A loose cable
- An incompatible adapter
- A problem with the USB hub
Try using a powered USB hub or another compatible cable or adapter.
The App Still Uses the Built-In Camera
Open the app’s video settings and look for an option to select a camera source.
Some apps automatically choose the available camera, while others may require manual selection.
The Video Freezes or Disconnects
A weak connection or insufficient power may cause instability.
Try:
- Reconnecting the webcam
- Using a powered hub
- Removing unnecessary USB accessories
- Restarting the iPad
The Webcam Works in One App but Not Another
This may indicate an app compatibility issue rather than a problem with the camera itself.
Check whether the app is updated and review its camera settings.
Tips for Getting Better Video Quality
Connecting an external webcam is only part of creating a good video setup.
Here are some useful tips for improving the final result.
Use Good Lighting
Soft light placed in front of you can improve image quality and make your face easier to see.
Avoid sitting directly in front of a bright window unless the lighting is balanced.
Keep the Lens Clean
A small amount of dust or fingerprints on the lens can reduce image clarity.
Use a soft, clean cloth to gently wipe the lens when necessary.
Position the Camera at Eye Level
Eye-level positioning usually creates a more natural and professional appearance.
A small tripod or adjustable webcam mount can make positioning easier.
Check the Background
A simple and tidy background can help keep attention on you.
If you are attending a professional meeting, avoid distracting objects behind you.
Test Before Important Calls
Always test your camera setup before an interview, presentation, online class, or important meeting.
This gives you time to fix connection or lighting problems.
Frequently Asked Questions
Can I connect any USB webcam to my iPad?
Compatibility can depend on the iPad model, iPadOS version, webcam, connection method, and the app you are using. Checking compatibility before buying additional accessories is recommended.
Do I need a powered USB hub?
Not always.
Some webcams work normally with a standard adapter or hub. However, a powered hub can be useful when the webcam requires more power or when several accessories are connected.
Can I use an external webcam for video calls?
Yes, compatible external cameras can be used with supported apps for video calls and other video-related tasks.
The exact experience depends on the iPad, app, and camera being used.
Why is my webcam not detected?
Common causes include insufficient power, an incompatible connection accessory, outdated software, or app-related limitations.
Reconnect the device, try another app, restart the iPad, and check for software updates.
Is a USB-C iPad easier to use with an external webcam?
Modern USB-C iPads generally offer a more convenient setup because USB-C accessories and hubs can provide flexible connection options.
Final Thoughts
Using an external webcam with an iPad can give you more control over your video setup. It allows you to position the camera independently, create a more comfortable angle, and potentially improve your experience during video calls, online classes, recordings, and other activities.
The most important factors are compatibility, the right connection accessories, sufficient power, and support from the app you are using.
If the webcam does not work immediately, try not to worry. In many cases, the problem is caused by a simple issue such as a loose cable, insufficient power, outdated software, or an app setting.
With the right setup and a few minutes of testing, you can create a convenient external camera setup for your iPad and enjoy greater flexibility during your video sessions.

I am a passionate Tech Writer with strong industry experience. I enjoy exploring the latest technological innovations and sharing clear, helpful insights with my audience.